Table of Contents Show
You can already sew a garment from start to finish, but something keeps giving it away: a seam that puckers, a facing that flips out, a hem that ripples just enough to look hand-done. That gap between ‘I made this at home’ and ‘where did you buy that?’ is rarely about skill level; it is about a handful of targeted techniques applied consistently, stitch by stitch and press by press.
A professional finish on handmade clothes means clean fit and symmetry, crisp edges, smooth seams inside and out, and a garment that hangs beautifully and holds its shape after washing. It means the inside is as considered as the outside. This guide distils the highest-impact techniques for achieving exactly that, including when to reach for your standard sewing machine and when an overlocker makes the visible difference, with natural recommendations for Juki UK’s overlocker range where it genuinely matters. The guide moves through prep, core machine skills, overlocking, key garment details, and a repeatable finishing checklist you can use on every project.
Set your standard: what ‘professional’ looks like in handmade garments
A professional result starts before a single stitch is sewn. Fabric should be pre-washed and pressed so it behaves as it will in real life, and the grain and nap respected so the garment hangs with intention rather than twisting or drooping. If you are working with a check, stripe or repeat, match it at the key seams. Ready-to-wear often fails at this, and well-matched pattern pieces are one of the first things a trained eye notices.
Fit is the most immediate giveaway of quality. Seams should sit where they are supposed to, with no pulling across the back or pooling at the thigh. For complex pieces, making a toile from cheap calico before cutting into your fashion fabric is not wasted time; it is the step that lets you refine your personal fit hotspots before they become permanent.
Symmetry and precision matter just as much: seam allowances and hem depths mirrored on both sides, pocket placements that align, button spacing that lines up perfectly with buttonholes. Then there is structure, which pressing provides. Pressing sets stitches and shapes fabric; it is not simply removing wrinkles but building the architecture of the garment. Finally, the interior. Consistent seam finishes, no long thread tails, trimmed notches and smooth facings signal that the garment was made with care. As one experienced sewist put it, you can tell a quality garment because it is as beautiful on the inside as it is on the outside. Focusing on these markers alone will take you further than learning every possible couture technique.
Before you sew: cutting, marking and setting your machine up for success
Accurate cutting is non-negotiable. Use sharp dressmaking shears or a rotary cutter, keep the fabric flat on a cutting mat without stretching or distorting it, and always cut on-grain. Respect every notch and marking on the pattern, because these are the keys to pieces sewing together cleanly and symmetrically. A slightly off-grain piece will twist and pull no matter how well it is stitched.
Mark key details before you start sewing: darts, pocket placements, fold lines and button positions. Use tailor’s tacks or chalk for delicate fabrics where other markers could damage the surface, and washable pens on stable wovens. Stabilising is equally important: stay-stitch curved necklines and armholes immediately after cutting so they do not stretch during handling. Use good-quality fusible interfacing on collars, waistbands and plackets; quality interfacing makes these areas hold their shape over time, looking crisp even after repeated wear.
Choose your needle for the fabric: fine, sharp needles for lightweight wovens, a microtex or universal for most dress fabrics, and a ballpoint or stretch needle for jerseys. A fresh, correctly chosen needle reduces skipped stitches and snagging, both of which are classic signs of a home make. For thread, polyester works for most garments; reserve cotton only where appropriate. Use a straight stitch on wovens, a slightly longer stitch on heavier fabrics, and a stretch or narrow zigzag on knits. Before you touch the actual fabric, sew a test seam on a scrap of the same fabric, dialling in stitch length, tension and presser-foot pressure until each seam looks even and balanced from the very first pass.
Sharpen your standard machine skills: seams, stitching and pressing
Consistent seam allowances are the foundation of a professional finish. Use the guides on your machine bed, or fit a magnetic seam guide, so you are never eyeballing the distance. Check allowances at key fit points such as side seams, shoulders and inseams, because even a millimetre of drift repeated across multiple seams throws the entire garment out of symmetry.
Pressing as you go is, without exaggeration, as important as the stitching itself. Press every seam flat first to set the stitches, then press it open or to one side as the pattern directs. Use a tailor’s ham for curved seams and a sleeve roll for long tubular sections so you do not distort the surrounding fabric. Bouncy, un-pressed edges are one of the clearest signs of a home make.
Understitching is the technique that keeps necklines and waistbands looking sharp: after attaching a facing or lining, stitch through it and the seam allowances just inside the seam line, so the edge rolls inward naturally and never flips out during wear. Topstitching and edge-stitching serve a different purpose, adding visible structure and design detail. Edge-stitching very close to the seam gives a razor-sharp edge on collars and hems; slightly wider topstitching reads as a deliberate design line on jackets, jeans or statement seams. Whatever the distance, keep it consistent and match thread colour and stitch length precisely so it looks intentional rather than approximate.
For tricky areas such as zips, set-in collars and slippery fabrics, basting before your final stitch is a professional habit that prevents distortion and saves unpicking. Use your machine’s specialist feet too: a zip foot, edge-stitch foot and automatic buttonhole foot all keep lines straight and distances even, which is exactly what the eye reads as quality.
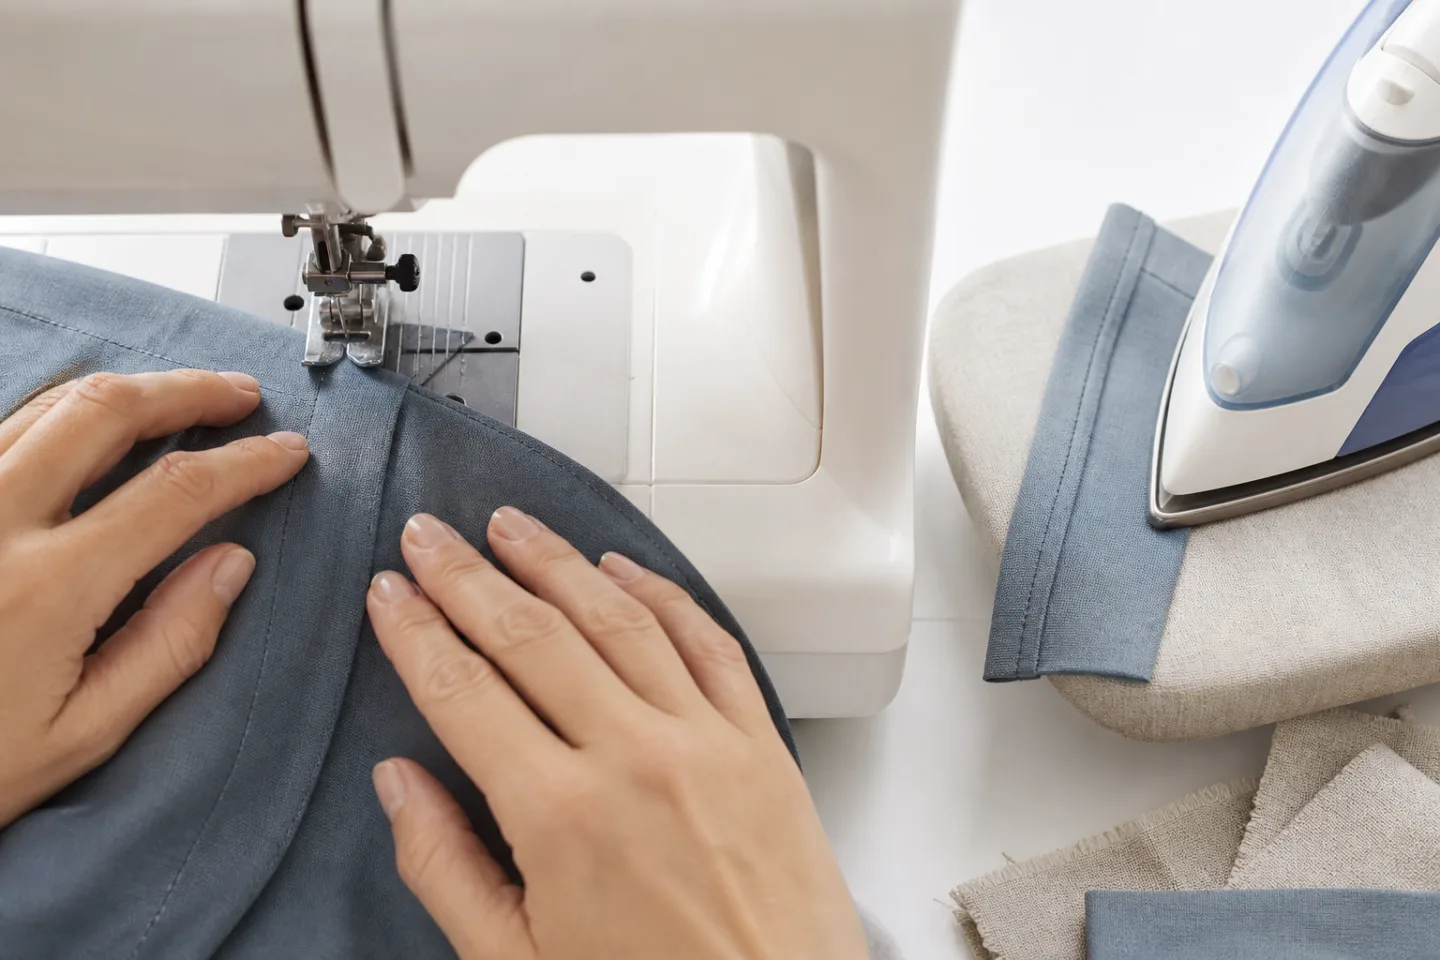
Using an overlocker for a professional finish on handmade clothes
If one tool separates garments that look shop-bought from those that look sewn at home, it is an overlocker. It trims, wraps and stitches the raw edge in a single pass, giving seam allowances that clean, stretchy finish you see inside every quality ready-to-wear piece. On woven garments, finish all raw edges as you cut or construct: side seams, centre-back seams and facings all benefit. For casual tops and shirt dresses, you can even construct the whole seam on the overlocker; for more structured pieces, stitch the seam on your regular machine first, then overlock the allowances separately for precision plus a tidy finish/
On knits, the overlocker does even more. A 4-thread stitch constructs T-shirts, leggings and jersey dresses with seams that stretch with the fabric and recover cleanly, giving them the soft, durable look of shop-bought garments. A 2-thread or 3-thread rolled hem setting is perfect for floaty fabrics: ruffles, flounces and lightweight skirts all gain a narrow, elegant edge that would take far more effort to achieve by hand, and the result is far more even.
Differential feed is a control that home sewists often overlook, but it makes a visible difference. Turn it up slightly and lightweight jersey edges stop stretching and waving as they pass under the foot; turn it down gently and you create a controlled lettuce edge for statement hems on ribbed knits. Getting this right quickly is much easier when you’re working with a quality Juki overlocker, built with smooth, responsive differential feed and easy rolled-hem conversion, which means less time readjusting tension and more time focused on design decisions. For home sewists making knit dresses, tidying the inside of tailored trousers or creating fine rolled hems on occasion-wear, that consistency is directly visible in the finished garment.
Once you have overlocked a seam, secure the thread tails properly: tie them off, weave them back into the seam using a tapestry needle, or seal with a tiny drop of fray preventer. An overlocked interior should look as intentional as the outside of the garment.
Details that make your garments look truly designer
Necklines and facings are where many otherwise well-made garments give themselves away. Stay-stitch the curved edge immediately after cutting to lock in the shape, apply quality interfacing, sew the facing with precise seam allowances, then trim and grade the seam, clip or notch the curves, and understitch before pressing. Done well, the neckline hugs the body without gaping or rolling outward; done carelessly, it undoes everything else you have achieved.
Hems deserve the same deliberate thought as the fabric and pattern. A blind hem gives a clean, weightless finish on tailored skirts and trousers. A narrow double-fold hem suits lightweight dresses. On knits, a twin-needle hem on the standard machine mimics the double row of stitching on the hems of favourite ready-to-wear T-shirts; test the tension on a scrap first so both rows lie flat without tunnelling. For the most polished knit finish, a coverstitch-capable machine achieves the same look in a single pass.
Closures are high-visibility and worth investing time in. For dresses and skirts, a concealed zip gives a far cleaner line than a lapped method; mark the position carefully, baste before final stitching, and press the zip tape flat so the seam line runs straight. Make sure the zip top meets the waistband or neckline precisely, because a misaligned zip tooth at the top catches every eye. For buttonholes, interface the area thoroughly, mark positions accurately, test on the same fabric before committing, and sew all buttonholes in one run so tension and length are identical across the placket. Hand-sew buttons with a thread shank so the placket sits flat rather than bunching.
Waistbands, cuffs and collars are the high-visibility structural elements of any garment, so trim and grade bulk from the seams within them carefully and press them thoroughly so edges are sharp. Finally, the interior: trim stray threads, grade any thick seams, and consider adding a simple woven label or size tag placed straight and secured neatly. Combined with consistent overlocking, a considered interior is what takes a garment from handmade to genuinely well-made.
Your repeatable finishing checklist
Apply the same sequence to every project and the results compound. Pre-wash and press fabric before cutting. Cut accurately on-grain with sharp tools, respecting every notch. Mark and stabilise key areas. Test your stitch settings on an offcut of the actual fabric before touching the real pieces. Sew with measured, consistent seam allowances. Press every seam before sewing over it. Finish raw edges on the overlocker. Refine hems and closures with the right technique for the fabric. Tidy the interior: trim threads, grade seams, add a label. Give the finished garment a final press, then hang it to cool so the shape sets.
Sampling is part of this routine, not a luxury. Sew quick test seams, topstitching samples and trial buttonholes on offcuts, switching between your standard machine and overlocker, until the look matches the garment’s intended style. That ten minutes of sampling saves an hour of unpicking.
The final quality-control step is one many sewists skip: put the garment on, or place it on a dress form, and photograph it. The camera catches drag lines, uneven hem depths and wobbly topstitching that your eye forgives when you are looking directly at the piece. Remove every loose thread, check left-right symmetry in a mirror, and use steam to relax any minor puckers, shape lapels and give hems weight before the garment leaves your workroom.
Within this routine, the overlocker earns its place at specific moments: batch-finish raw edges before assembly to keep the construction stage clean and fast, switch to rolled hems for statement ruffles or sheer skirts, and rely on differential feed to tame knits and bias edges that would otherwise wave and stretch under a standard foot. A reliable machine with smooth tension across all those settings, such as those in Juki UK’s overlocker range, makes this part of the process straightforward enough to become second nature.
The mindset shift is worth stating plainly: a small number of high-impact techniques, applied consistently with a dependable overlocker in your setup, will do more for your wardrobe than any amount of perfectionism applied sporadically. Master these habits and the question you hear most often will stop being ‘did you make that?’ and start being ‘where is that from?’