
Traditionally, stamps are used with ink pads on cards and other products, but why limit yourself? Stamps are super versatile! You can use loads of different mediums and materials to make an impression. Here are five ways of using stamps in arts and crafts you might like to try…
Before sharing our fancy stamping methods, let’s all get on the same page with the basics, starting with:
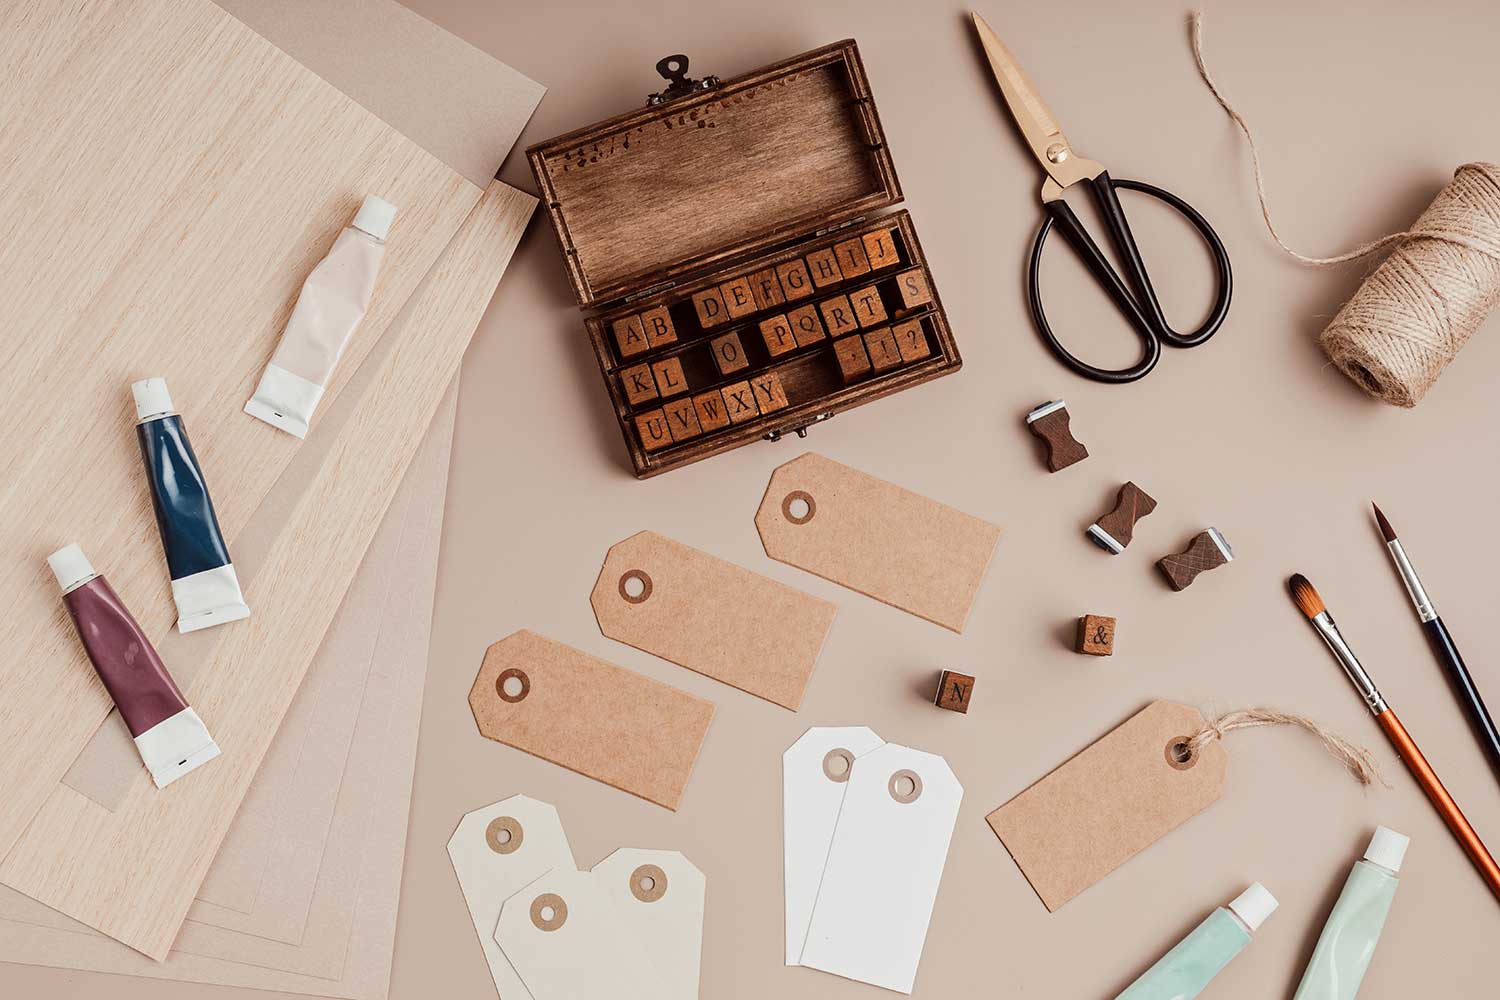
The most common types of stamps
- Self-inking stamps – these are typically used in businesses and can only stamp with one colour. Think stamps that show the date, whether things are paid, etc.
- Rubber stamps – these are the most common ones used in arts and crafts and are incredibly easy to colour customise.
- Potato stamps – most likely the first stamp most kids use besides their hands. They’re ideal for messy fun but don’t last long.
- Seals and brands – these are also stamps, but they only work with additional materials like wax and heat. They’re great for professional crafting but are maybe a bit too much for day-to-day fun.
We’re mostly looking at rubber stamps in this article as they are (in our opinion) the most versatile choice. They’re easy to use for all kinds of crafts (even for keeping the kids busy), easy to clean, reusable forever and are the most customisable.
Cleaning your stamps
If you’re swapping between mediums, then cleaning your stamps well is a must! You’ll find that caring for your rubber stamps is not as simple as you thought. Some professionals recommend using only a damp cloth and a dry towel to clean rubber stamps. Others suggest a small amount of soapy water or baby wipes. However, the consensus is to never submerge your stamp in water. This is because the water can affect the adhesive between the wood and the rubber, and that can impact the overall effectiveness of the stamp.
Top Tip: A stained stamp is not dirty, and trying too hard to clear it off will impact the rubber.
Storing your stamps
Like most arts and crafting materials, keep your stamps stored somewhere dry, with cool temperatures and out of direct sunlight. This will help them say usable for longer and prevent any cracking or warping.
Now that all that’s out of the way, let’s move on to the new and unusual ways you can colour and use your rubber stamps…
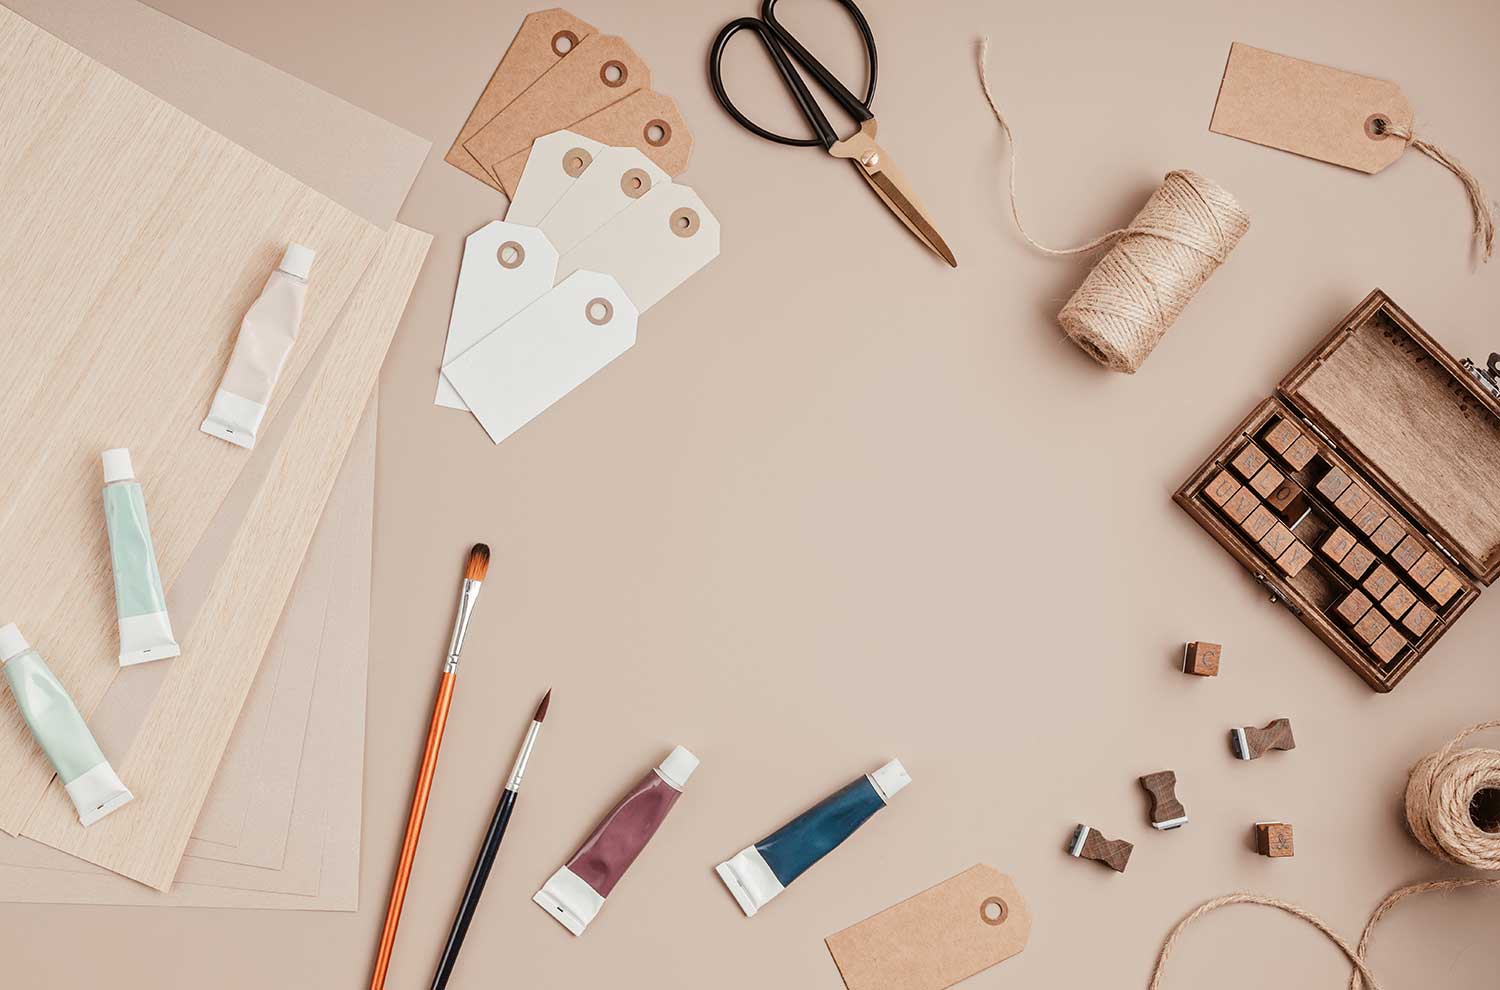
Option one – Change the way you add colour
Ink pads are the most common option for adding colour to stamps, and the consistency and application process often results in a crisp impression, but they do limit how colourful you can be.
Instead, think about other mediums you can use, such as paint, pens, and chalk. All you need to do is brush or colour in the stamp lines, and away you go! The main benefit of this is you can add multiple colours at once instead of just one. And you don’t have to spend money on additional arts and crafts items too – just use what you have.
Option two – Get glittery with it
A bit of sparkle never hurts, does it? The only downside is it can get everywhere on your artwork. All you need to bring a smidgen of order to your glittery masterpiece is a rubber stamp and some glue.
All you need to do is:
- Pour out a thin layer of PVA glue on a plate or palette.
- Press your stamp into the glue and let the excess drip off.
- Make a gluey impression on your artwork.
- Sprinkle over your chosen glitter
- Let it dry and shake off the excess.
Option three – Explore fabric stamping
If you’re into crafting your clothes, bags, and outfits, using stamps could be a great option to customise your fabric and patterns.
There are a couple of ways you could colour your stamps for fabric impressions:
- You could throw together a small amount of cold-water dye and get in the groove of dipping and stamping.
- You could invest in some decent fabric pens and colour the stamp in.
With both of these, getting a crisp impression will take some trial and error. So, don’t just jump headfirst into printing on your garment, do some tests first.
Option four – Working with Clay
Pottery and jewellery are incredibly popular hobbies, and with the introduction of air-dry and oven bake clays like Sculpy, they are much more accessible than ever before. If you’re into that sort of thing, think of all the impressions and marks you can make with stamps on your crafted sculptures and creations?
Imagine crisp, clean flowers, easy-to-read writing, and no more having to redo the whole thing when you’ve made a mistake with your scoring tool.
Just remember:
- A little pressure goes a long way.
- A dusting of corn starch on your clay can prevent sticking.
- Make sure you clean off all the clay before it dries.

Option five – Getting advanced with embossing
You know that raised-up effect you get on cards and expensive paper sometimes? You’ll usually see it painted gold or some other metallic colour. Well, that’s called embossing. It’s essentially a raised image on your chosen material, and traditional embossing presses (or Die Presses) can do this on anything from paper to leather, metal and wood by sandwiching the material in-between two paired stamps. However, you can’t do that with a rubber stamp, so we’re focusing on paper and card embossing with powder and heat.
Kids will need to be supervised by an adult on this one as it involves a heat gun as well as your paper, some embossing powder, and your stamp.
- To begin with, make sure your paper and stamp are 100% dry to avoid the powder blotching.
- Then, just like with the glitter, you’ll need to make a PVA glue stamp and cover the glue in embossing powder. Alternatively, you could buy an embossing ink pad and use that instead.
- Dust off the excess powder to reuse another time.
- Take your heat gun, and melt the powder and glue together to create a raised effect.
So that’s it, five unusual ways to use stamps in your arts and crafts. Some are out of the box, others are nice and straightforward, but they’re all fun, crafty and add an extra dimension to your art.
All the best,


These are fun ideas! I want to try that glitter & glue stamping method. It sounds like something I could do with what I already have. Thank you for sharing xx