
Table of Contents Show
Over the past year, I’ve been working on improving my photography and editing skills. This blog post might be a bit of a long one, I’ll be explaining exactly how I improved my photography and editing, as well as which tools I use. Let’s start with my intentions.
My intentions were:
1. To create photos I’m proud of.
2. Make my blog and Instagram look more aesthetically pleasing.
3. Save time while taking and editing photos.
My Photography and Editing Equipment
- Sony A5100 Mirrorless Camera.
- Neewer Softbox lighting for indoor photography.
- Lightroom and occasionally Photoshop for editing. (I have a Creative Cloud subscription – if you’re a student you can save 65%!).
- I also sometimes use the VSCO app for quick editing on my phone for Instagram.

How to Improve Blog Photography and Editing
Camera Settings
The first tip I have for improving any photography is to mess around with your camera settings. I spent so long just using my camera in auto mode, and while that is great in certain situations and a time-saver, my best photos have been taken in manual mode.
Spend some time learning about aperture, white balance, and focus to make your photographs immediately look much more professional! It’ll be worth the time you invested.
There are so many e-courses, tutorials, and tips available online to help you out. I’ll go into more detail later, and share my favourite resources.
Skillshare is a great platform for learning and improving your creative skills! There are lots of amazing photography courses you can take for free with their unlimited trial.
Shoot in RAW
If your camera has a RAW capability setting, use it! RAW photographs are much better to edit with and are much higher quality. This is because RAW photos capture all of the image data, and don’t compress the photo as JPEGs do.
JPEG photographs record 256 levels of brightness, while RAW records between 4,096 and 16,384 levels! They’re also much easier to adjust white balance and exposure in post-production than JPEG.
Any adjustments to RAW images do not overwrite the original files, meaning you can easily go back to the original photo without hassle, and not lose any quality like you would with JPEG.
Printing is also better with RAW, due to their finer tone and colour gradients.
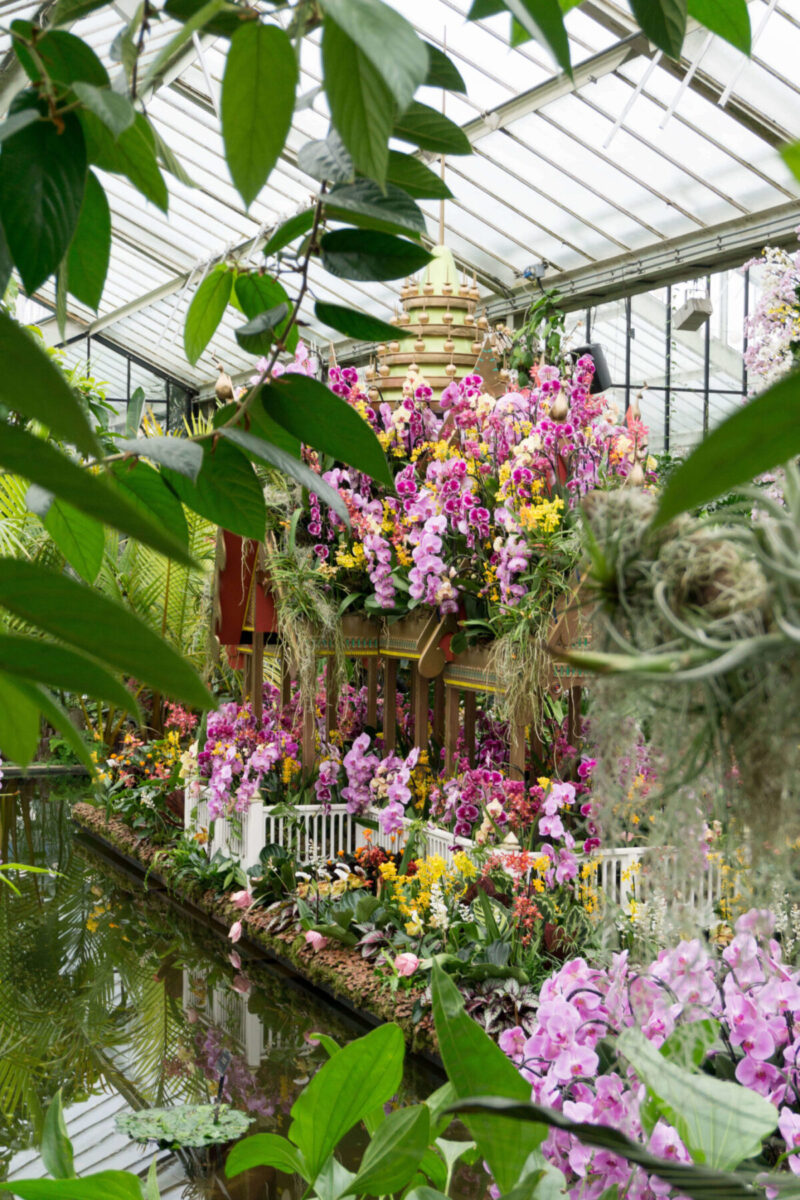
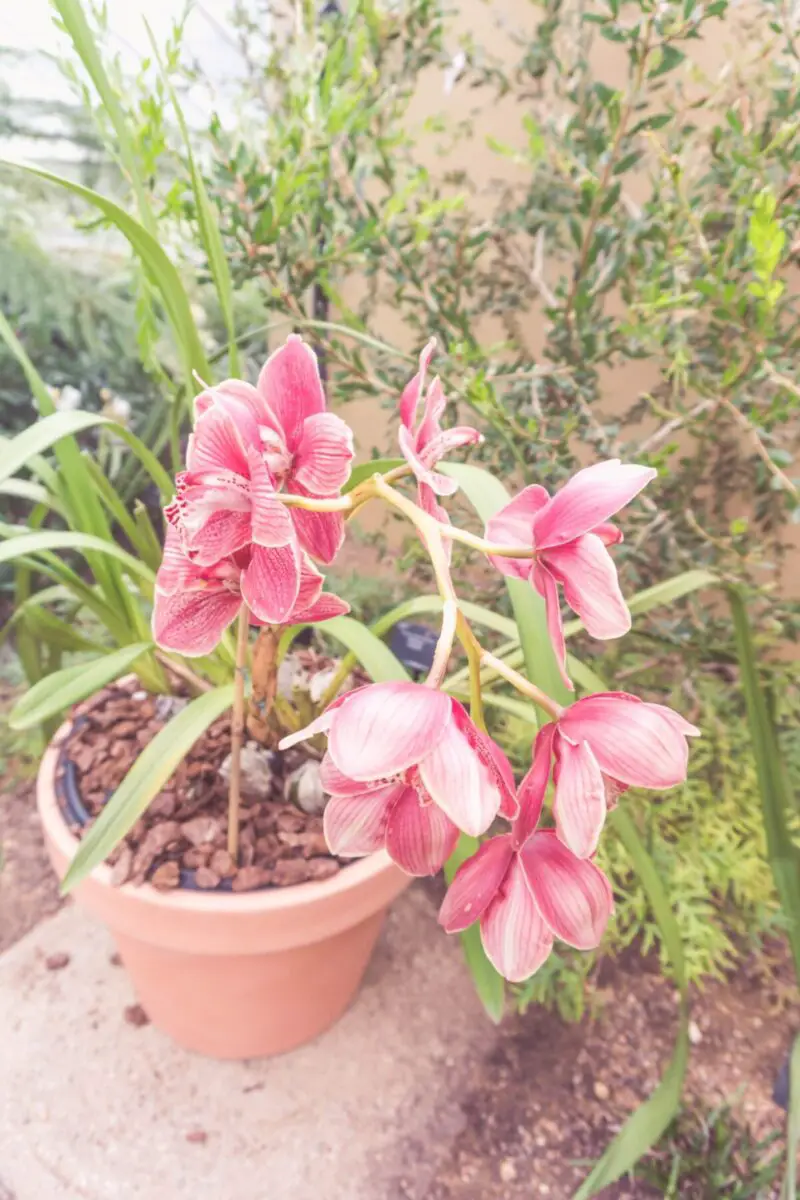
Of course, I wanted the beautiful orchid palace to be the focus in the above photo, so I made sure my camera settings on manual mode were correct. I liked how the leaves in the foreground framed the image, without drawing attention away from the main focal point.
While editing, I adjusted the white balance very slightly, so it looked as naturally spectacular as it was in real life! I didn’t need a preset or a filter, because the natural flower colours were lovely.
Think about composition
I have spent many years taking hundreds of photos, thinking to myself “I can fix this in Photoshop if I need to”.
To save myself time, and make my photos look better, I began taking my time with composition before snapping away. This also helps save storage space on my SD card!
If you’re photographing small objects or making a flat-lay, make sure you arrange everything exactly how you want before taking pictures. I usually have a look through the camera lens to see what everything looks like, and how it fits in the frame, re-arrange if necessary, then take the photos. If you’d like more flat-lay tips, I have a blog post for that!
I like to follow the rule of thirds. It’s simple but effective. Many cameras (and phone cameras!) have a grid setting, which can be incredibly useful when taking photos of scenery or buildings. This helps you see if buildings are straight, or check the horizon in landscape pictures, saving editing time or cropping later.

Natural Lighting
Make use of early hours for outdoor photography! Sunshine is wonderful for photos, so I like to bulk-shoot many blog photos on a sunny summer day. For self-portraits, standing or sitting in front of a window is so much better than taking pictures in unnatural lighting. Speaking of self-portraits, the absolute master of self-portraits, Sorelle Amore, has a brilliant course available on Skillshare!
The warm lighting in the above photograph of the Roman Forum is totally natural. I actually won a photography prize at university for it!
I also invested in some softbox lighting for indoor photography – they’re especially useful for creating a natural lighting look during the darker seasons.
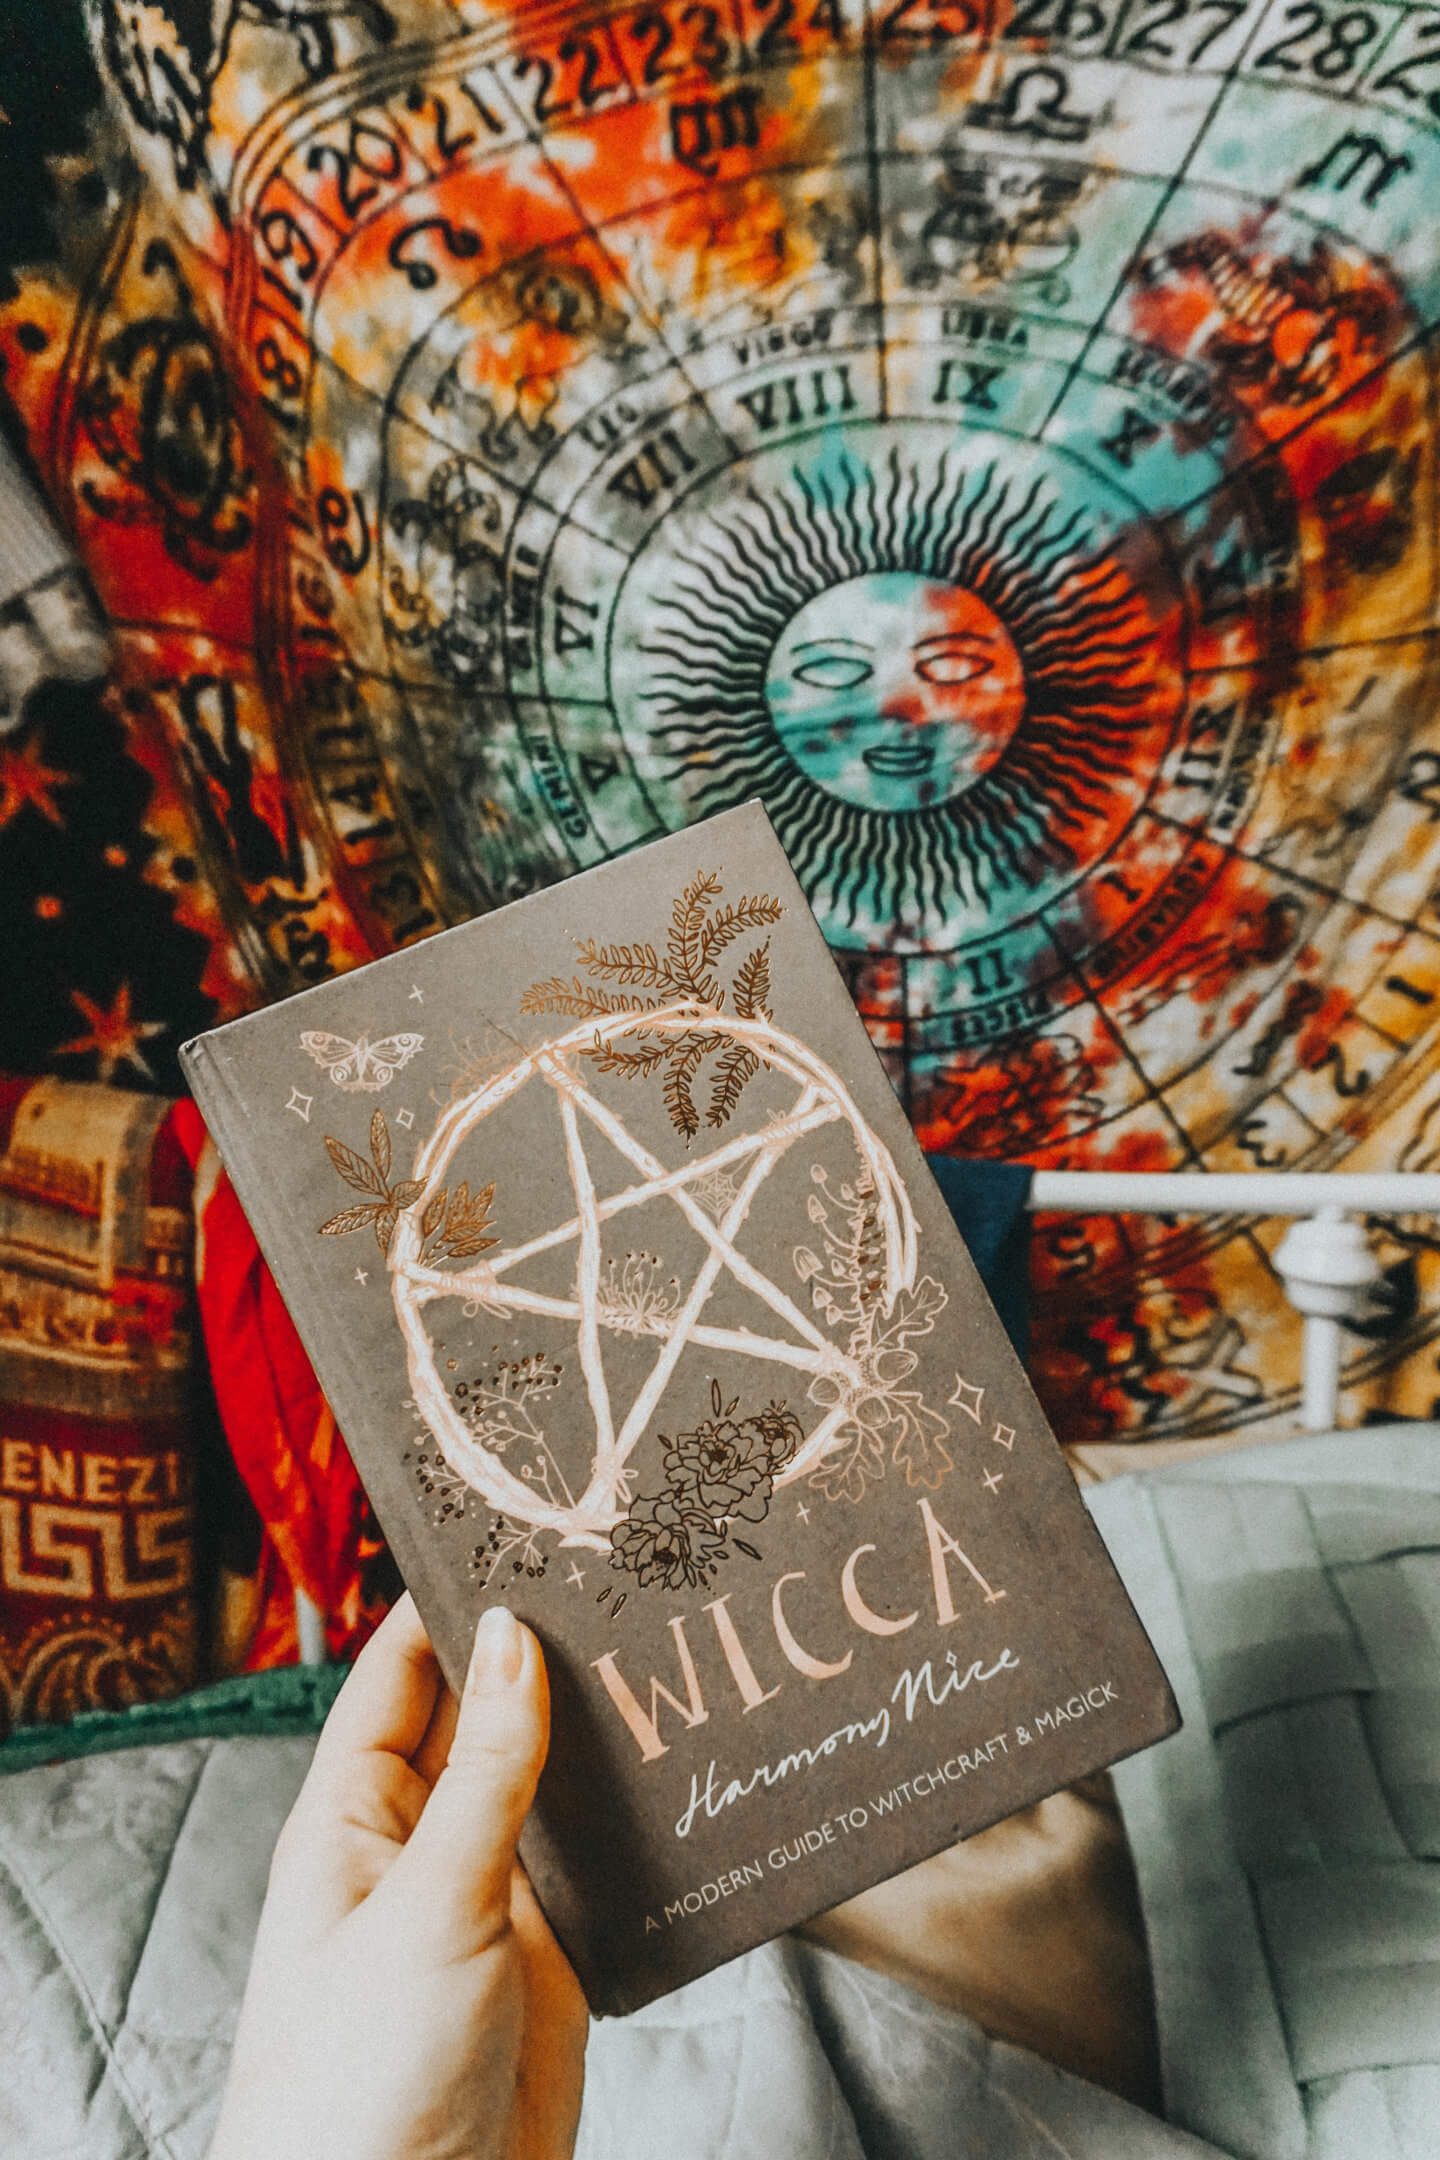
Don’t be afraid of the flash!
Sometimes a flash is necessary. I know. Bloggers can be afraid of using the flash, but I’ve taken some lovely pictures using it! Just make sure your white balance is right, and edit later if necessary. Brightening up using the flash makes your photos look much crisper and more detailed than increasing exposure when editing.
I avoid the flash when taking portraits, but for close-up object photography, it can do wonders! I used the flash on my phone for the above book photo, as it was a dark Autumn day with not much natural light.
Editing
I personally use Lightroom for the majority of my photo editing, it’s a very intuitive system, and it’s great for organising and editing a collection of pictures.
I still occasionally use Photoshop for certain edits, but I find that Lightroom is more than sufficient for my blog, Instagram, and holiday photos!
Lightroom Presets
Since I’ve been using Lightroom so much, I have made my own presets to give my photos a similar look. This is especially useful for creating a cohesive Instagram theme, and makes the editing process much easier!
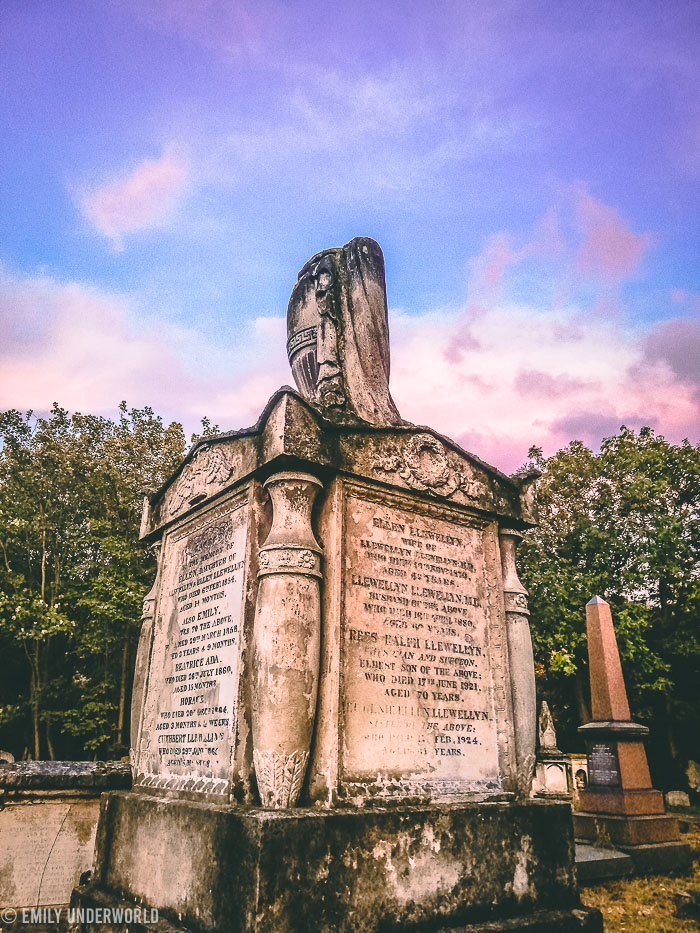
Other Lightroom Presets I Use
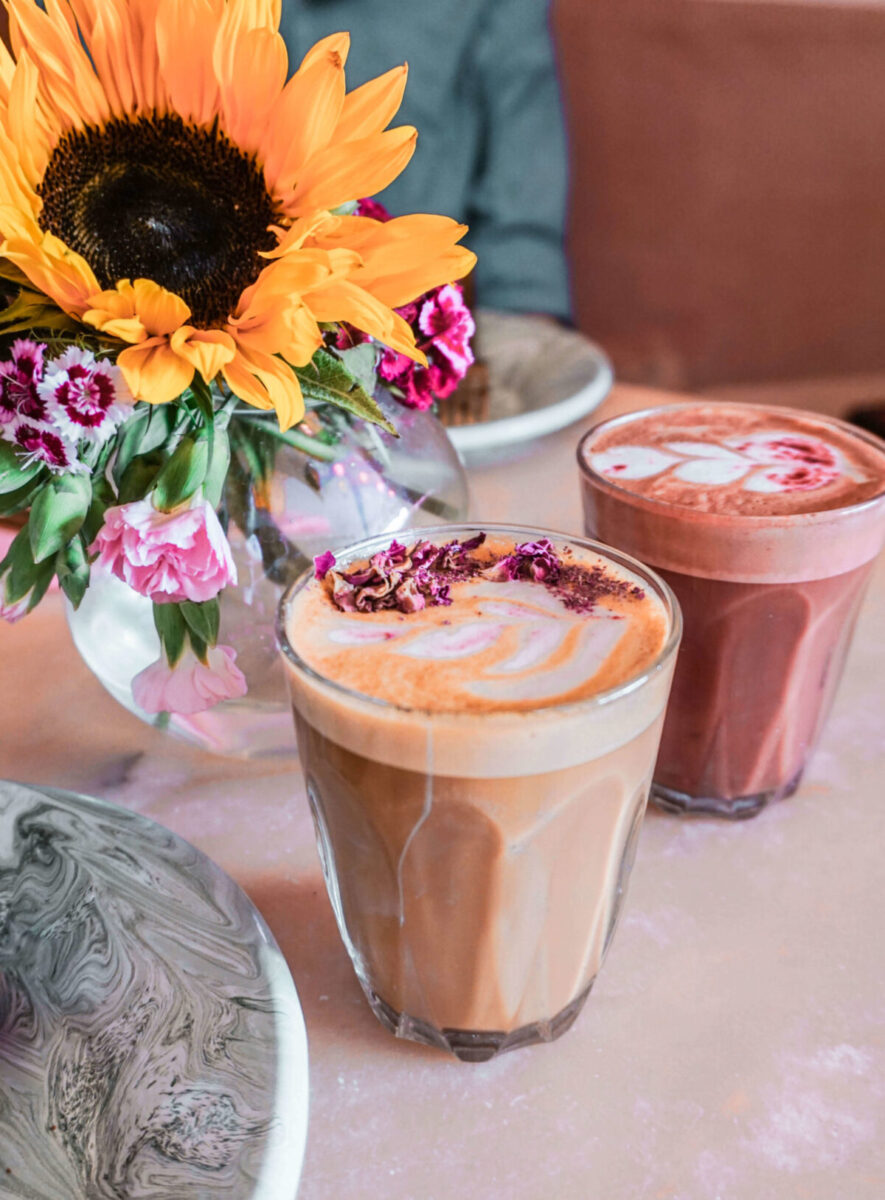
I purchased Sorelle Amore’s ‘Hipster AF’ preset pack (can you tell I love her?), and use it regularly. I’ve been enjoying her presets for travel photos! The above photo was taken on my phone at Tower Hamlets Cemetery Park, and edited using one of Sorelle’s presets.
Switching up your editing style can be fun, and change how an image comes across!
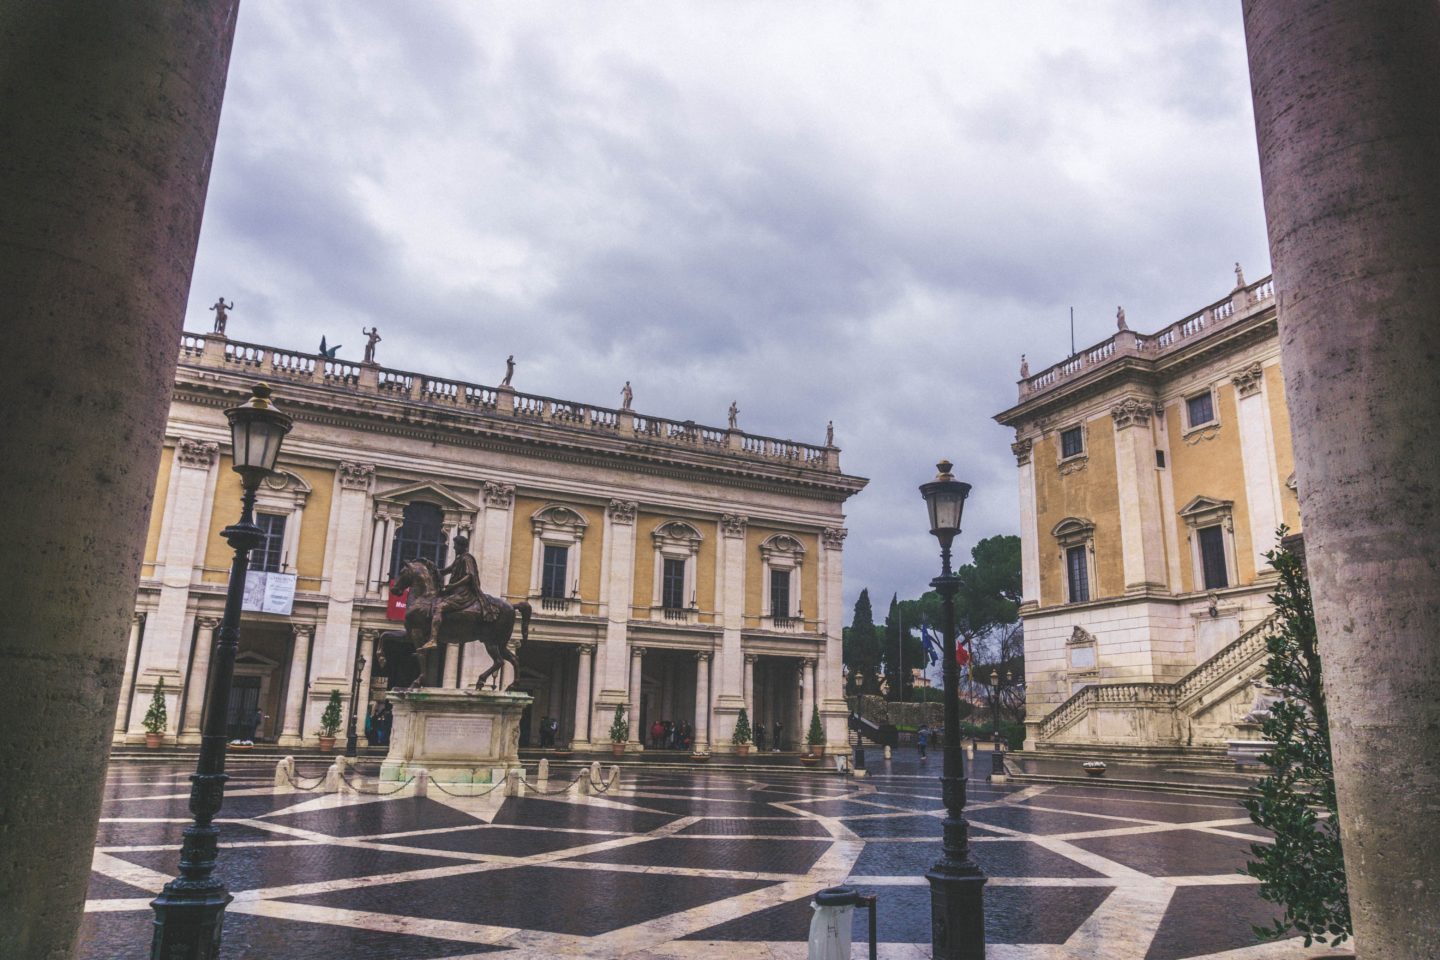
I went for a ‘moody’ editing style by reducing the highlights in the below photograph of the Capitoline Museum in Rome, to match the rainy weather. I framed the two columns on each side to create an interesting perspective.
Check your export settings
There wouldn’t be much point in improving my photography and editing skills if my export settings were ruining my photos! After experimenting in Lightroom and using online resources, I’m now essentially happy with my export settings for my blog.
After editing, your pictures may look amazing in Lightroom, but not so much once they’ve been exported and uploaded to your blog or Instagram. Make sure you check your export settings and figure out which are best for your intended use.
I resize my blog photos to fit my WordPress theme layout, and I make the ‘featured images’ (the first ones in a post), a bit larger for effect. I also make sure to reduce the file sizes, so they load quicker on my blog and don’t take up too much bandwidth.
Lightroom can also add custom watermarks to your exported photos, which is great for bloggers and website owners who don’t want their photographs stolen! It has happened to me on many occasions, unfortunately.
Courses & Ebooks!
I’ve been using courses, ebooks, and online tutorials for improving my photography and editing over the years.
Many tips can be found through Pinterest, but sometimes it’s worth investing in a well-written e-course. I’ve followed a few in my time, for everything from productivity and finance, to photography. I’m a big fan of an ebook!
Have a look at my Shop and Freebie Library page to see all the resources I recommend for blogging, creativity and more.
Try Skillshare. A very inexpensive option, and the ability to learn from many creatives! Skillshare is especially useful if you want to take lots of courses and learn about a variety of subjects, instead of investing in a particular course or ebook.
Stock Photos
I get it. Sometimes you don’t have time to set everything up for photography, or maybe you need a specific type of photo for a blog post. Thankfully there are plenty of stock photo websites out there!
I’ve created my own stock photos that you can use for free if you like. Alternatively, there are some brilliant stock photo membership sites, specifically tailored for online businesses, bloggers, and professionals. Or you can individually purchase licensing of specific photos, should you need to.
My personal favourite is Ivory Mix, for beautifully created feminine stock photos, perfect for blogging and lifestyle niches. You can visit their Stock Photo Shop, or have a look at the Stock Photo Membership if that suits you better.
I also use Adobe Stock all the time. You can find high-quality professional photographs, as well as resources for Photoshop, including mock-up templates.
So, there we have it. How I’ve been improving my photography and editing skills. That was a long one!
Let me know your best tips for photography in the comments below.

You may also like:
- My Free Stock Photos and How To Use Them
- Flat-Lay Photography Tips
- The Only App You Need for Instagram?
- My Pinterest board full of Photography Tips, Indoor Photoshoot Ideas, and Flat-Lay Inspiration.
Thank you for the tips! Your pictures look lovely x
Marissa Belle