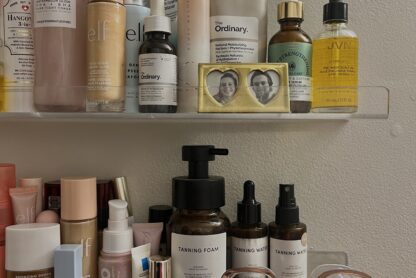
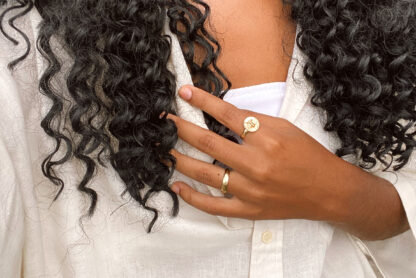
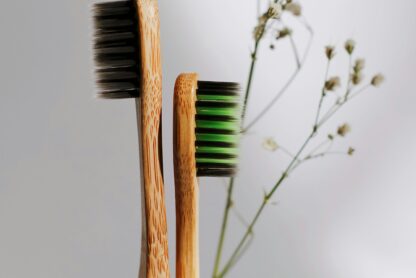
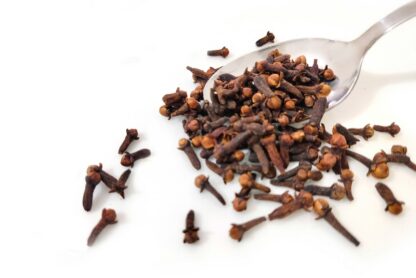
This blog post may contain affiliate links. As an Amazon Associate I earn from qualifying purchases. (Full Disclaimer, TOS & Privacy Policy).
I can’t get enough of these Alice in Wonderland nail decals, so today I’ve decided to share them with you. Keep reading to find out where I got them, and how to apply nail decals.
These are pretty much the easiest nail DIY possible: trust me, I’m terrible at nails!

I haven’t had much experience with nail art, except for glitter and crackle top coats… if that even counts. I didn’t really know what to expect from trying out nail decals. They turned out to be an easy nail DIY, and now I use them all the time.
The Alice in Wonderland Nail Decals
I orderered these for just over £1 from Aliexpress. Considering the price, I wasn’t expecting much, but I was pleasantly surprised!
As you can see from the pictures, I received lots of different Alice in Wonderland nail decals. The designs range from the original Disney film, the Lewis Carroll book illustrations, the Tim Burton film, and other Wonderland-related imagery like playing cards, keys and teapots.
The nail decals are separated into different pages, based on each theme. This makes it easy to choose a consistent style when you use them.

How To Apply Nail Decals
Applying these tiny nail decals (also known as water transfers) can be quite fiddly, but you’ll get the hang of it!
First you’ll want to paint your nails: I found that a light colour worked best to make the designs visible.
Then follow the steps below to apply your nail decals. You don’t need any extra tools, but tweezers and a small brush will help.
Step 1: Roughly cut around the design you want, and peel the clear protective layer off.
Step 2: Place the decal in water for about 10 seconds.
Step 3: Take it out of the water. The decal design should easily slide off the backing paper, which you apply on your nail. Using a little brush helps to apply the water transfer decal smoothly. You don’t want bubbles underneath!
One thing I need to mention is that using a top coat is imperative! I tried a few nail decals without a topcoat and they barely lasted a day.
I picked up the Barry M All-in-one basecoat, topcoat and nail hardener, which made such a huge difference. Using a topcoat made the nail decals last around a week.
I’m excited to try out these Alice in Wonderland nail decals with different nail polishes underneath. They’ll probably look best with light pastel colours like the one pictured: Essie Romper Room. I think a bright yellow might work too though!
Overall, I’m really pleased with these nail decals. They’re an easy and mess-free way of making your nails look cute. As someone who really sucks at nail art, these are a quick way to jazz up my look!
Shop more cute nail decals
All the best,

If you’re also an Alice in Wonderland fan, make sure to read my review of the Splintered Book Series. I’m sure you’ll love it!
These are so cool I love the Disney ones they’re so pretty x
Georgina | Rent or Chanel?
These are such a fantastic way of getting cool nails if you’re not very good with nail art like myself haha. They look fab xx
i love alice in wonderland and aliexpress! Mia
These are so cool! I love Alice in Wonderland!
Serena